B-independent
News
Review
Interview
B-independent
News
Review
Interview
Top Stories
See All Topics
Interviews
Interview
The Interview: The Toxic Avenger. The B-Movie That Refused to Die
Interview
The Interview: Re-Animator. The Horror Classic That Redefined Independent Cinema
Interview
The Interview: Tremors. The Monster Movie That Became a Cult Legend
Interview
The Interview: THE CREATOR, DIRECTOR AND STAR OF PUPPET KILLER, LISA OVIES
Interview
The Interview: Writer and Director of WOLFCOP AND ANOTHER WOLFCOP, LOWELL DEAN
B-MOVIE
See All
Reviews
Review
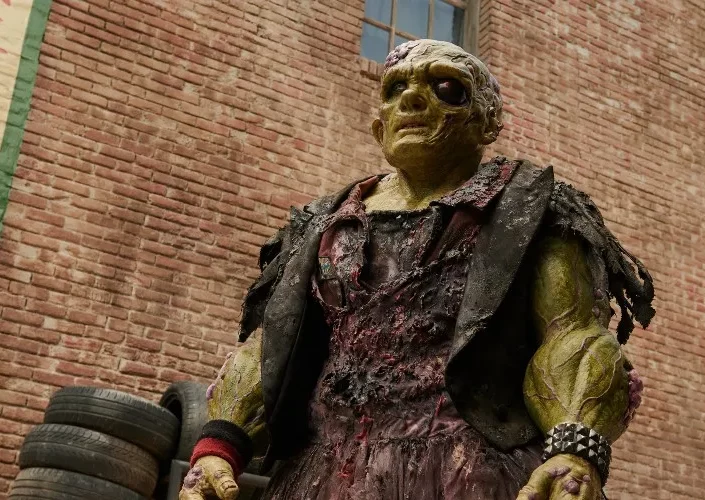
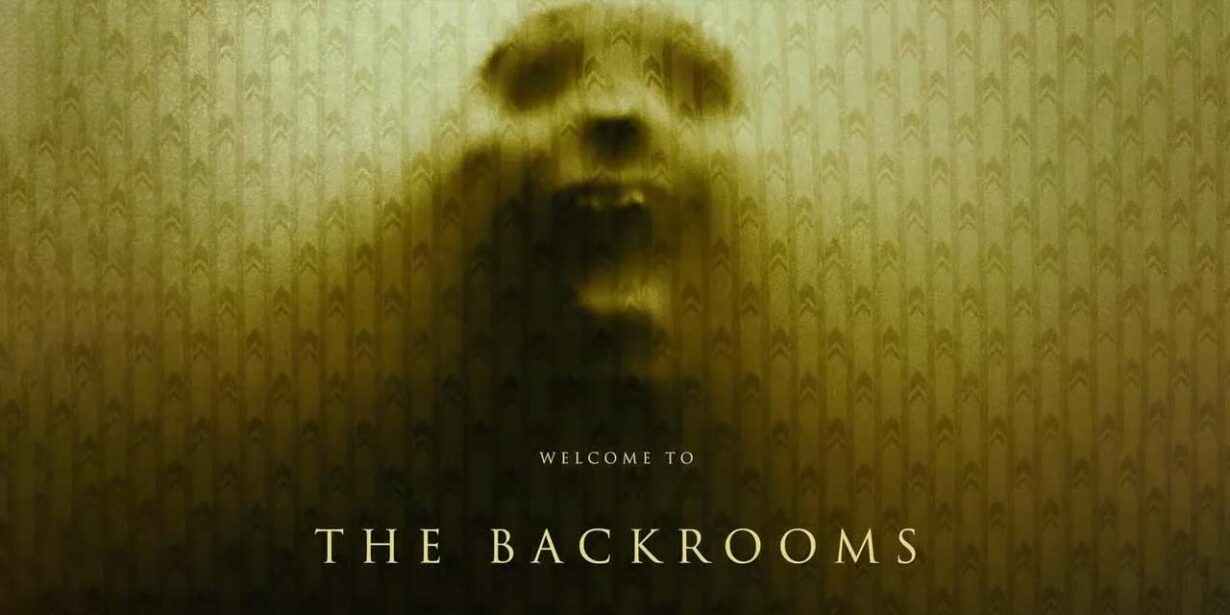
REVIEW: BACKROOMS (2026)
Review
REVIEW: THIRST (2026)
Review
The Controversial Return of Uwe Boll and the Rise of “Citizen Vigilante”
May 6, 2026
2 min read
Review
The Renaissance of B-Movies in the Streaming Era
February 11, 2026
2 min read
Review
Review: Loop Track (2023)
June 27, 2024
2 min read
Latest news
News
Horror Festivals Become the New Launchpad for Independent Genre Cinema
News
How “Obsession” Changed the Future of Low-Budget Horror
News
Why Horror Has Become Hollywood’s Most Exciting Genre
Categories
Review
News
Interview
Our Friends