B-independent
News
Review
Interview
B-independent
News
Review
Interview
Top Stories
See All Topics
Interviews
Interview
The Interview: THE CREATOR, DIRECTOR AND STAR OF PUPPET KILLER, LISA OVIES
Interview
The Interview: Writer and Director of WOLFCOP AND ANOTHER WOLFCOP, LOWELL DEAN
Interview
The Interview: Director of MEGA SHARK VS GIANT OCTOPUS, JACK PEREZ
Interview
The Interview: THE SUPER TALENTED AND STAR OF THE CAMPUS, RACHEL AMANDA BRYANT
Interview
Interview with GREG DELISO, THE DIRECTOR AND CO-WRITER OF HECTIC KNIFE
B-MOVIE
See All
Reviews
Review
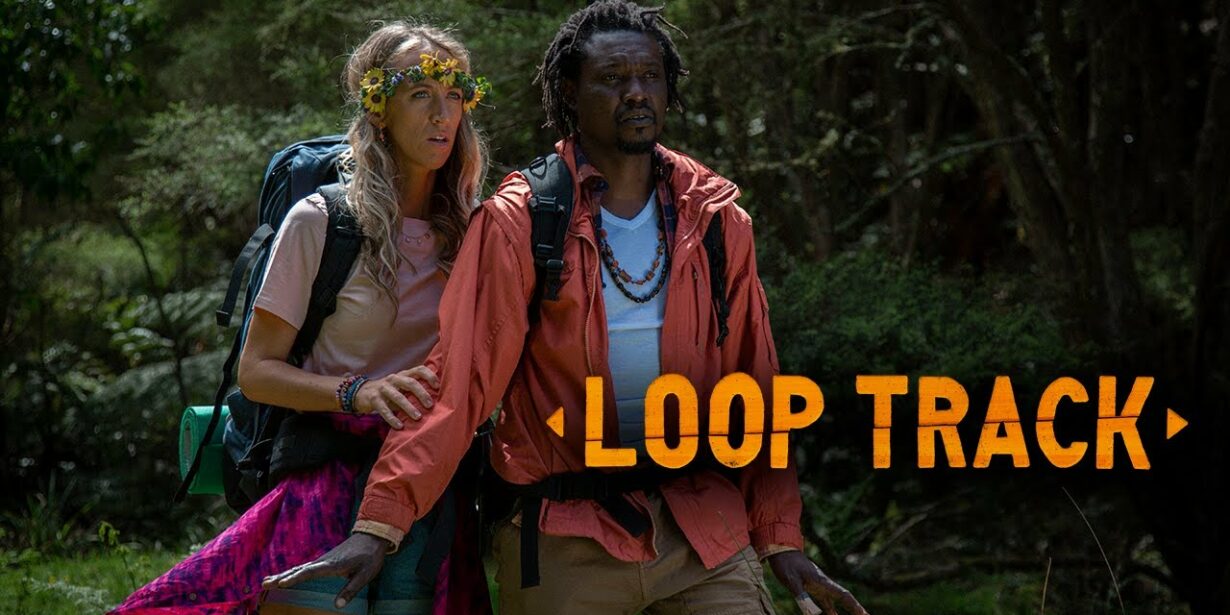
Review: Loop Track (2023)
Review
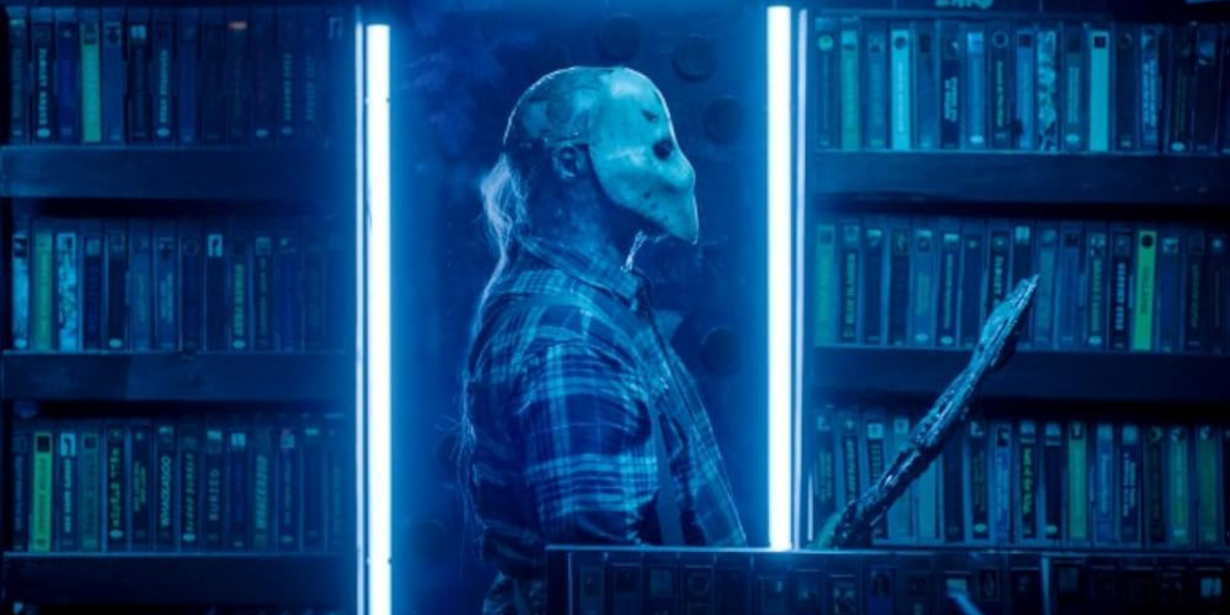
‘The Last Video Store’ Fantastic Fest Review: A B-Movie Tribute to a Bygone Era
Review
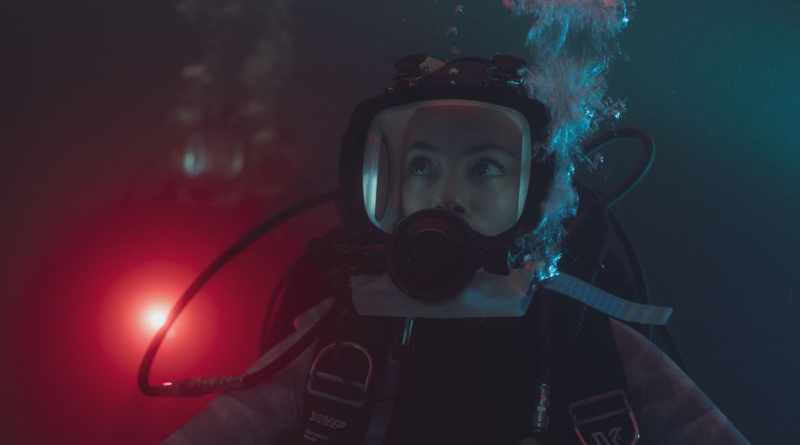
Review: Under Paris (2024)
June 26, 2024
2 min read
Review
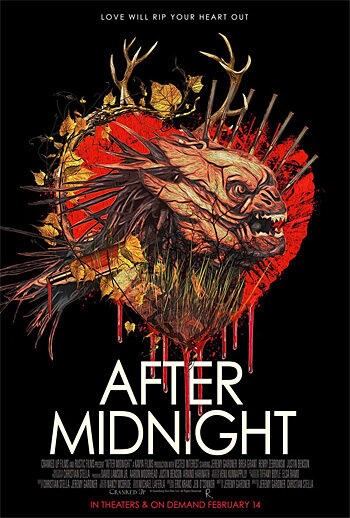
Review: After Midnight (2020)
June 14, 2024
4 min read
Review
‘The Beekeeper’ Review: Jason Statham Grimaces His Way to the Top in Bonkers B-Movie
June 8, 2024
3 min read
Latest news
News
‘Cocaine Werewolf’ Snorts and Howls Onto Blu-ray in August
News
The Fix 2024 Dystopian Body Horror In An Action Film
News
Subhuman: The Amityville Experiment Blu-ray
Categories
Review
News
Interview
Our Friends